Installing an electric water heater is a crucial task that ensures your home has a reliable supply of hot water. Proper installation can improve the efficiency and lifespan of your water heater. This guide will walk you through the key steps and considerations for electric water heater installation, and also provide essential water heater maintenance tips to keep your system running smoothly.
Table Of Contents
Preparing for Installation

Before starting the installation process, it’s important to ensure you have all the necessary tools and materials. Proper preparation can help avoid potential issues and ensure a successful installation.
Gathering Tools and Materials
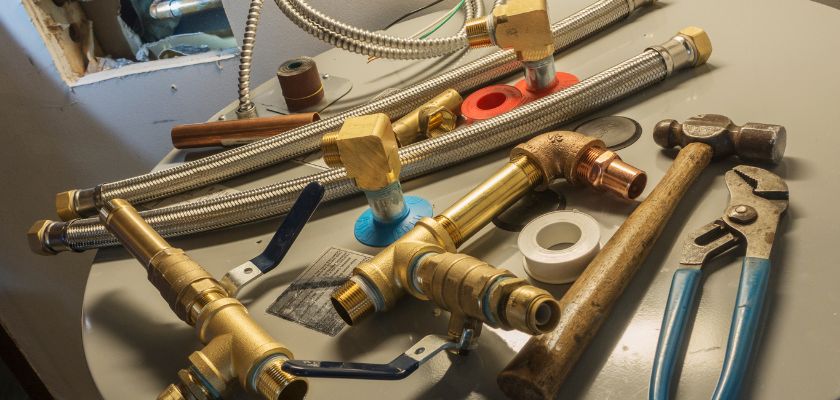
- Essential Tools: You will need a pipe wrench, screwdriver, adjustable wrench, tape measure, and a level.
- Materials: Ensure you have the water heater, pipe fittings, Teflon tape, electrical wire, and insulation materials.
Safety Precautions
- Turn Off Power and Water: Always turn off the electricity at the circuit breaker and shut off the water supply before starting the installation.
- Safety Gear: Wear safety gloves and goggles to protect yourself from any potential hazards.
Choosing the Right Location
- Accessibility: Choose a location that allows easy access for maintenance and repairs.
- Ventilation: Ensure the area is well-ventilated to prevent overheating and to allow proper air circulation.
Installation Process
Following a step-by-step process can help ensure your electric water heater is installed correctly and efficiently.
Positioning the Water Heater
- Placement: Place the water heater in the chosen location, ensuring it is level. Use a level to verify.
- Securing: Secure the water heater to prevent movement, especially in areas prone to earthquakes.
Connecting Water Supply Lines
- Inlet and Outlet Pipes: Connect the cold water inlet and hot water outlet pipes to the corresponding fittings on the water heater. Use Teflon tape on the threads to ensure a tight seal.
- Pressure Relief Valve: Install a pressure relief valve to prevent excessive pressure buildup, which can be a safety hazard.
Electrical Connections
- Wiring: Connect the electrical wires to the water heater according to the manufacturer’s instructions. Ensure all connections are secure and insulated.
- Power Supply: After all connections are made, turn on the power at the circuit breaker and check for proper operation.
Post-Installation Considerations
Once the installation is complete, there are several important steps to ensure your water heater operates efficiently and safely.
Checking for Leaks
- Water Supply: Turn on the water supply and check all connections for leaks. Tighten any loose fittings if necessary.
- Electrical Connections: Verify that all electrical connections are secure and that there are no exposed wires.
Initial Heating
- Temperature Setting: Set the thermostat to the desired temperature, usually around 120 degrees Fahrenheit for optimal performance and safety.
- Testing: Allow the water heater to heat up and check the hot water temperature at various faucets to ensure it is working correctly.
Regular Maintenance
Maintaining your water heater is essential to prolong its lifespan and ensure efficient operation.
Flushing the Tank
- Frequency: Flush the tank at least once a year to remove sediment buildup, which can affect performance and efficiency.
- Procedure: Turn off the power and water supply, connect a hose to the drain valve, and drain the tank until the water runs clear.
Inspecting Anode Rods
- Purpose: Anode rods prevent corrosion inside the tank. Inspect them every 3-4 years and replace if necessary.
- Replacement: Turn off the power and water supply, remove the anode rod, and replace it with a new one if it is significantly corroded.
Checking Electrical Components
- Thermostats and Heating Elements: Periodically check the thermostats and heating elements for proper function. Replace any faulty components to maintain efficiency.
- Insulation: Ensure all electrical connections and wiring are properly insulated to prevent short circuits and other electrical issues.
Final Wording
Installing an electric water heater is a task that requires careful planning and execution. By following this comprehensive guide, you can ensure a successful water heater installation in North Richland Hills TX, that will provide reliable hot water for years to come. Regular maintenance, such as flushing the tank and inspecting anode rods, is essential to keep your system running efficiently. Implement these water heater maintenance tips to extend the lifespan of your water heater and avoid costly repairs. Proper installation and maintenance not only enhance performance but also ensure safety and energy efficiency, making your investment worthwhile.
FAQ’s
For a successful electric water heater installation, ensure you gather all necessary tools and materials, choose a well-ventilated location, turn off power and water supplies, secure the water heater in place, connect the water supply lines and electrical wires, and finally, test the system for leaks and proper operation.
How often should I perform maintenance on my electric water heater?
Regular maintenance should be performed at least once a year. This includes flushing the tank to remove sediment buildup, inspecting anode rods every 3-4 years, and checking the thermostats and heating elements for proper function.
What are the benefits of flushing the water heater tank annually?
Flushing the tank annually helps remove sediment buildup, which can reduce the efficiency and lifespan of your water heater. This maintenance task ensures better performance and energy efficiency.
How do I know if the anode rod needs to be replaced?
Inspect the anode rod every 3-4 years. If it appears significantly corroded or worn, it should be replaced to prevent internal tank corrosion, which can lead to leaks and reduced water heater lifespan.
What safety precautions should I take when installing an electric water heater?
Always turn off the electricity at the circuit breaker and shut off the water supply before starting the installation. Wear safety gloves and goggles, and ensure the installation area is well-ventilated to prevent overheating and allow proper air circulation.


